Daily Instances — Sakura Isle & Chaos' Air Fortress
The headline endgame content is two daily party instances reached at Lv. 105+. They're the core of the endgame daily loop (Stage 20 of the New Player Guide). This is the full walkthrough: entry, mechanics, bosses, reward rules, and party comp.
1. The basics (both instances)
| Property | Value |
|---|---|
| Min level | 105+ |
| Party size | 2–7 characters |
| Frequency | once per day, each |
| Reset | 06:30 server time |
| Entry NPC | Benusta, Manager of Party Instance Zones |
| Difficulties | Easy Lv.110 / Normal Lv.120 / Hard Lv.130 |
105 is the entry level, not the cap. The server level cap is 130. You unlock these instances at 105 and keep leveling toward 130 as you run them — Hard mode (Lv. 130) is aimed at max-level characters, while Easy/Normal let you start clearing while you climb.
You enter both from the same NPC, Benusta. Her menu was rebuilt for Sakura Isle — the old Krofin's Nest and Crystal Prison buttons are gone. Do both, every day — a missed 06:30 reset is lost progress.
2. Difficulty selection
Pick a difficulty matched to your level and gear. Easy = Lv.110, Normal = Lv.120, Hard = Lv.130 — higher tier means a stronger boss and a better reward pack (Lv.1 → Lv.3 → Lv.5). If Easy clears comfortably, step up.
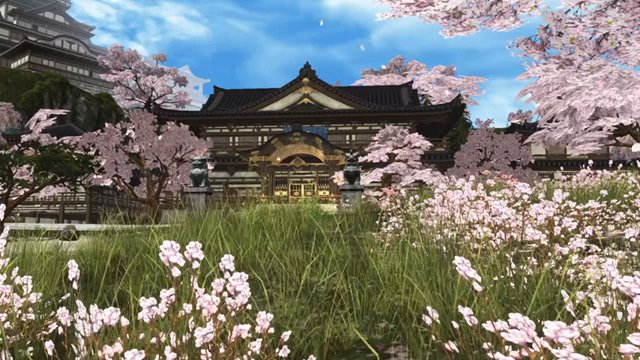
3. Sakura Isle — walkthrough
A cherry-blossom / Japanese-temple themed zone (kitsune / Oni theme).
- Enter from Benusta at Lv. 105+ with a party of 2–7; pick a difficulty.
- Clear 100 common monsters. The boss is invincible until 100 mobs are killed — the mobs advance toward the boss area, so you fight your way in. This 100-kill barrier is the gate.
- Kill the boss. Higher difficulty = a tougher boss and a bigger reward pack (Lv.1 / Lv.3 / Lv.5).
- Get your reward. You must contribute meaningful boss damage to be paid — see §5.
Note for this server: the boss line here is the Krosha family across four tiers (Lv. 105 / 110 / 115 / 120), not the three-tier "Oni" set some retail guides describe. Same instance and mechanics — different boss names/levels.
4. Chaos' Air Fortress — walkthrough
A high-altitude fortress dungeon.
- Enter from Benusta (same NPC, Lv. 105+, party 2–7); pick a difficulty.
- Break the boss barrier. Instead of a kill count, this instance hides the boss behind a barrier — clear the fortress adds to bring it down.
- Kill the Fortress Golem boss, tiered by difficulty → the matching Benusta's Reward Pack (Lv.1 / 3 / 5).
5. The reward rule — don't get shut out
The instances pay by contribution, not just by being present:
- Do ≥ 5% of the boss's damage to earn a reward box; the top-damage player/party earns an upgraded "shining" box.
- At minimum, everyone must hit the boss at least once to receive the reward.
Practical takeaway: everyone in the party should land hits on the boss — don't let one player tunnel it while others clear trash. Spread damage so the whole party clears the 5% bar.
6. Party composition & tips
General modern-L2 group shape for Lv. 105+ instance bosses:
- 1 tank (Sigel) to hold the boss, 1 healer (Aeore), 1 buffer/support (Iss), and 3–4 DPS (Tyrr / Yul / Othell / Feoh / Wynn). A 2–7 range means a lean trio or a full seven.
- For the 100-kill phase (Sakura Isle): bring AoE — clearing 100 mobs fast is where Tyrr/Feoh AoE and a summoner shine. The faster the 100 fall, the more boss time you get.
- For Chaos Air Fortress: clear the adds to drop the barrier, then focus the boss.
- Use shots and full buffs. Boss HP at these tiers is large; sustained shotted DPS is what clears the 5% contribution bar and races the timer.
- Match the tier to your kit. Step up to Normal/Hard for the better reward pack once Easy is comfortable.
Where to go next
- The overall daily loop and endgame routine → New Player Guide (Stage 20)
- What gear to chase for these bosses → Gearing & Enchanting
- Which class clears them comfortably → Classes & Builds